|
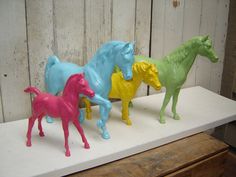
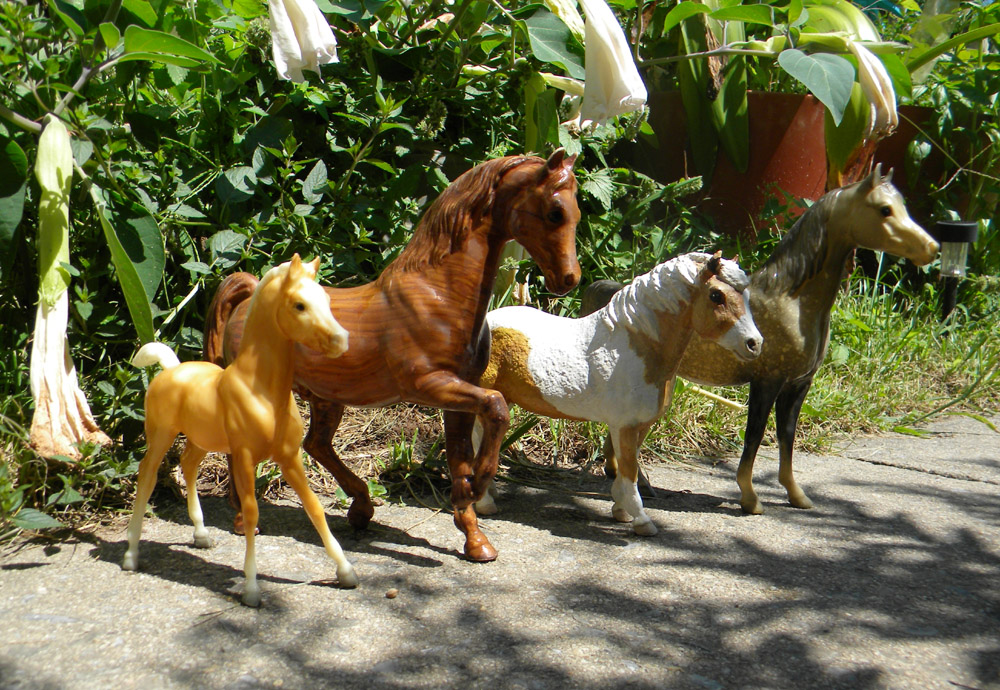
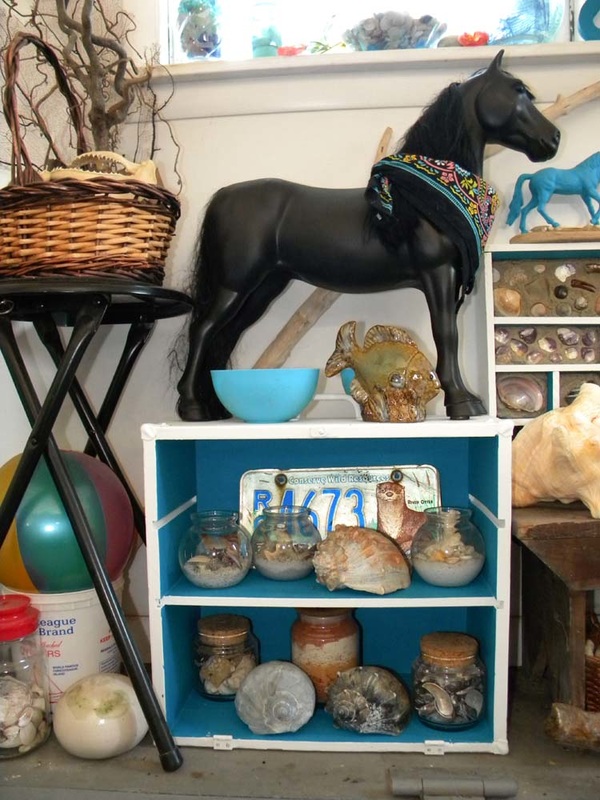
Before I plunge into the Crafty Sea, I will make This Point. Above: a "crafty idea" found on Pinterest... to the right, the same Breyer horses from my shelves (Arabian foal, Arabian stallion in rare woodgrain, Misty of Chincoteague, Arabian mare).
People repaint and repose Breyers into fantastic artworks... that above is not artwork, that is like taking this... |
...and doing this... |
To see some fantastic reworked Breyers and others, look here: https://www.pinterest.com/swordwhale/horse-collection-breyer-reworked-and-original-mode/
for some crafty ideas, look here
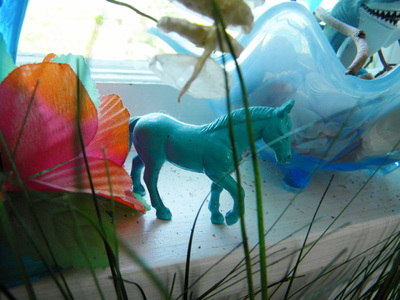
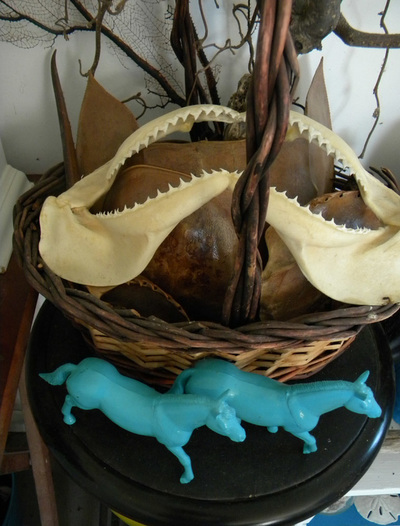
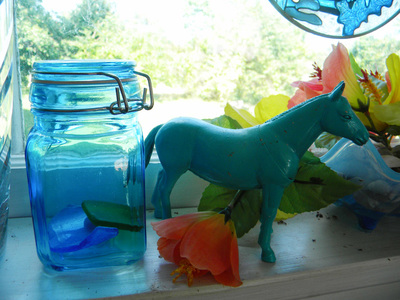
Find some cheapo plastic horses that don't have awful anatomy, repaint as needed. Here's what I did with a few. Most of them have horrible paint jobs to begin with, and repainting them a solid accent color actually makes them look better. Rustoleum 2X is good at sticking to plastic, though I had issues when I used the Rustoleum clear coat (matte) on top of one plastic horse already painted with rustoleum Oasis blue. The paint bubbled and came off in places. Another horse (the big Our Generation one) was fine with Rustoleum 2x Oasis and a top coat of ModPodge (gloss) with glitter. A plastic shark took days to dry. I suspect different kinds of plastic react differently to the paint. I have also used chalkboard paint on plastic horses, as well as craft paints (Apple Barrel and Folk Art). ModPodge is an all around useful glue/topcoat/mixing medium (mix with sand or glitter).
Little plastic horses painted in Rustoleum 2x Seaside spray paint (sticks to plastic).
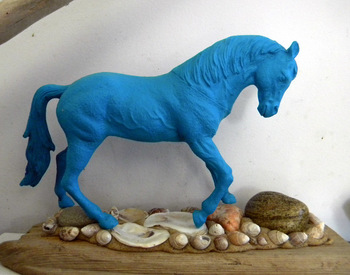
Plastic horse painted with Apple Barrel Turquoise water based acrylic craft paint, ModPodge, sand and rocks and shells.
This horse had a terrible factory paint job, but a fairly nice form. The solid color shows off the form. You could, of course, repaint him in a realistic fashion too, which would make him look more awesome. The base is driftwood with ModPodge/sand glopped onto it, shells and river rocks pressed in. Mix ModPodge sand by using beach sand, river sand, play sand, about a cup to a few tablespoons of ModPodge (gloss, matte or satin).
This horse had a terrible factory paint job, but a fairly nice form. The solid color shows off the form. You could, of course, repaint him in a realistic fashion too, which would make him look more awesome. The base is driftwood with ModPodge/sand glopped onto it, shells and river rocks pressed in. Mix ModPodge sand by using beach sand, river sand, play sand, about a cup to a few tablespoons of ModPodge (gloss, matte or satin).
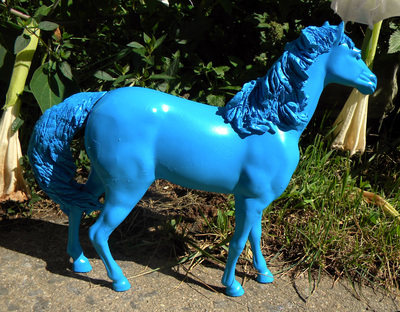
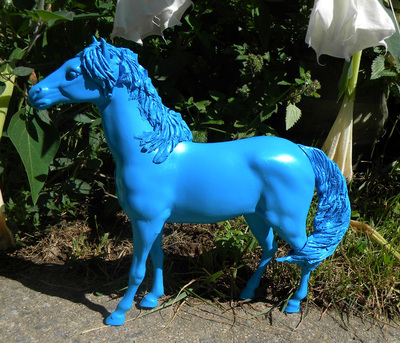
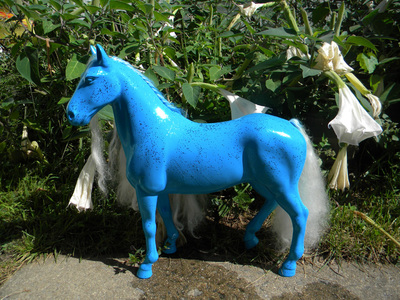
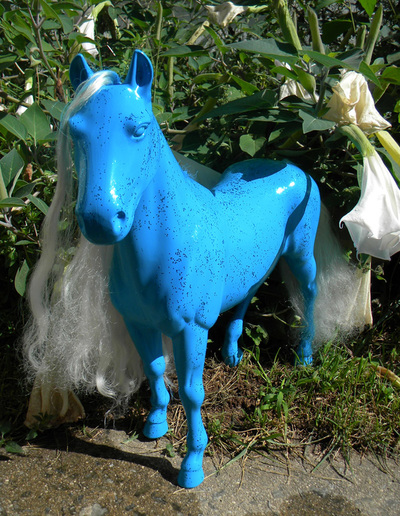
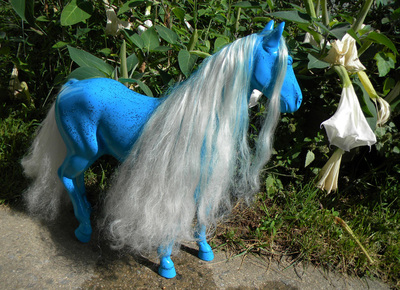
Rustoleum 2x Oasis, DAS air dry clay, wire (tail armature), white stallion with cheesy pink mane.
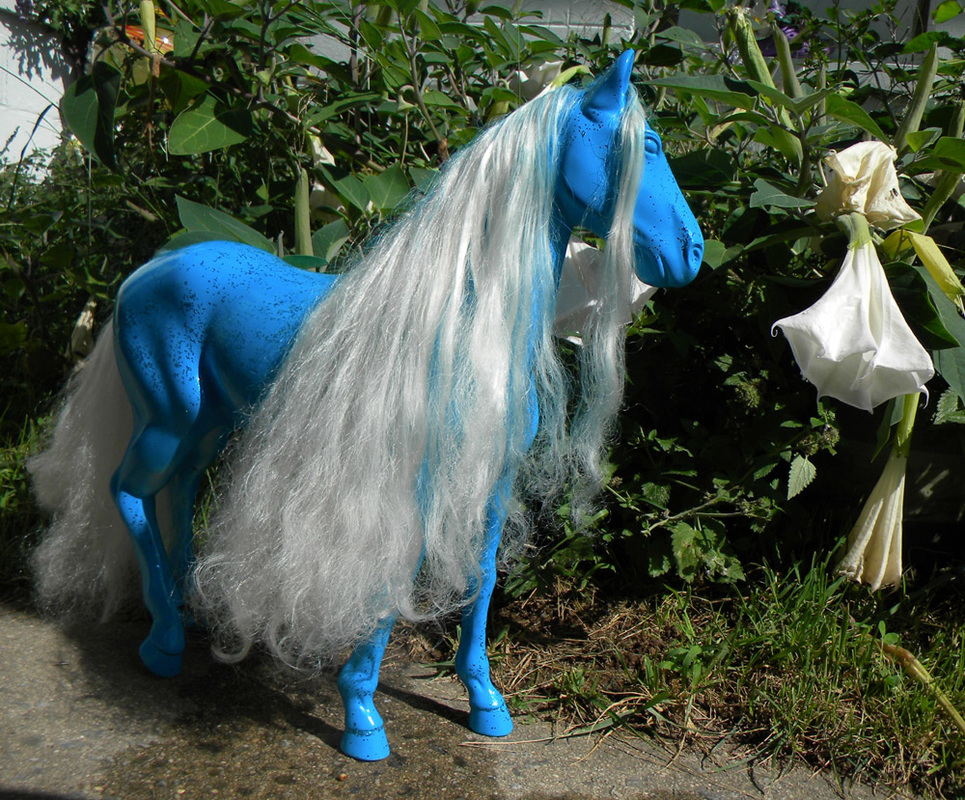
This guy below was made in China, and is a fairly decent model, though not anywhere near the level of Breyer, Safari or even Schleich. He is clearly a stallion (no, not a gelding, a stallion!), was white (well loved and dirty) and had a ratty, thin pink pane and tail. OK, paint him blue and that'll be hilarious, pink mane and all...
...the pink mane peeled off, so I yanked the tail too and got some DAS air-dry clay and molded a mane over the already painted body (probably best to stick it to an unpainted, slightly sanded body, but it did stick anyway). A plastic spoon makes a fine modelling tool (making the lines in the mane and tail). The tail was formed over a bit of fence wire stuck in the hole left by the pink tail (a loop, with the bent ends in the hole, the loop went around the left hock for stability).
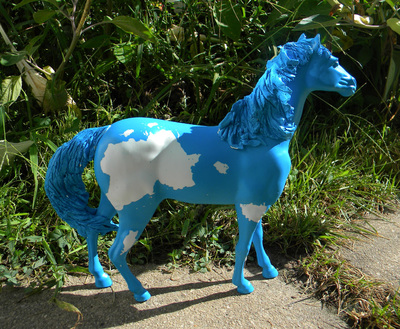
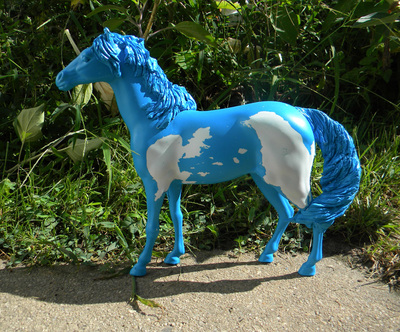
I used Rustoleum matte clear coat and ... paint bubbled and peeled in a most unusual and nearly accurate pinto pattern.
I debated leaving him that way and just schlopping some ModPodge over it all, but the Thing That Make Me Nutz About Book Cover Artists and Toy Makers is People Who Do Not Research Their Actual Horse Colors and Patterns and create pintos that are basically: stand that horse behind a jet and throw paint into the jet wash... (this below is actually pretty close to some overo patterns).
So...blue.
The Rustoleum clear coat is fine on most surfaces, I think it may have had something to do with the particular plastic here, or how the coat of paint adhered, or didn't entirely, to the plastic?
The plastic shark, with the same paint, took days to dry...
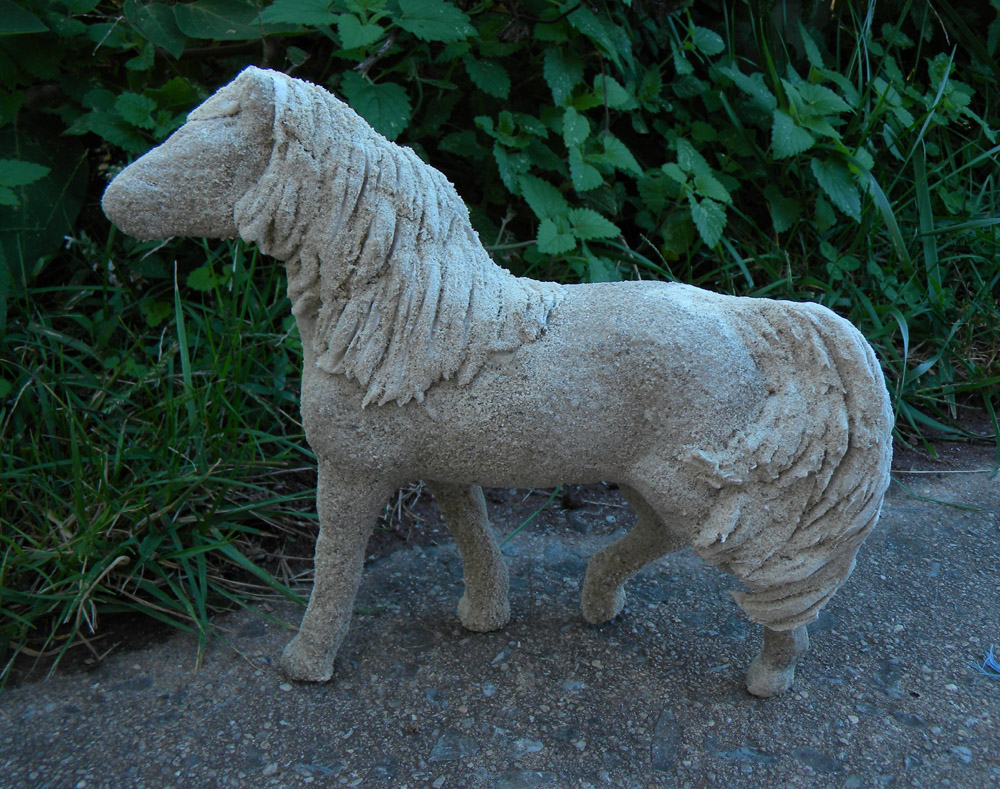
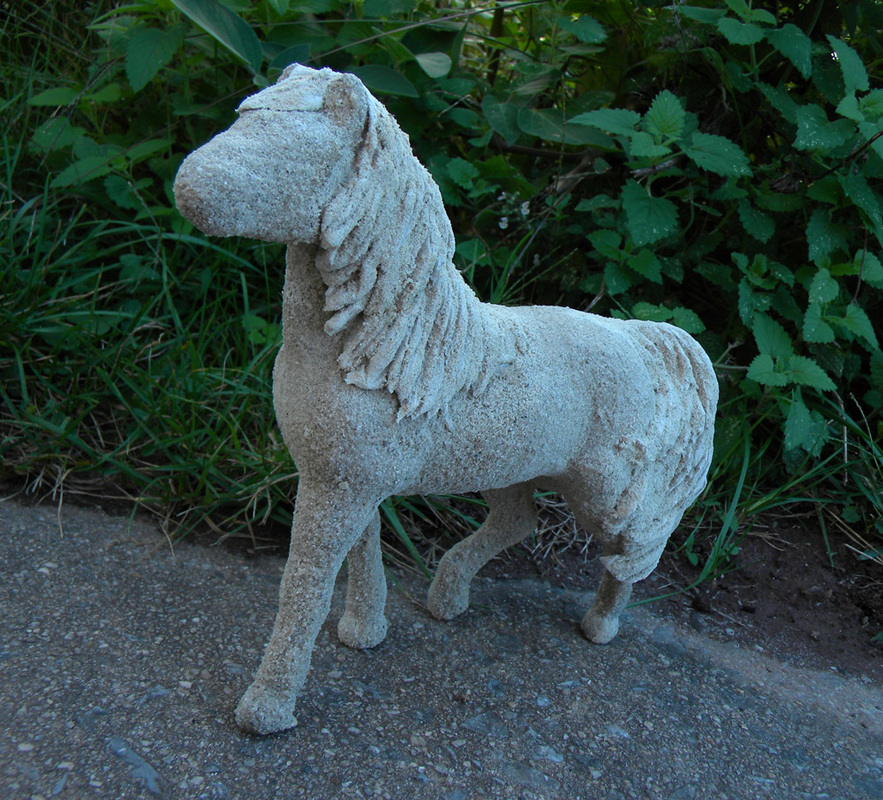
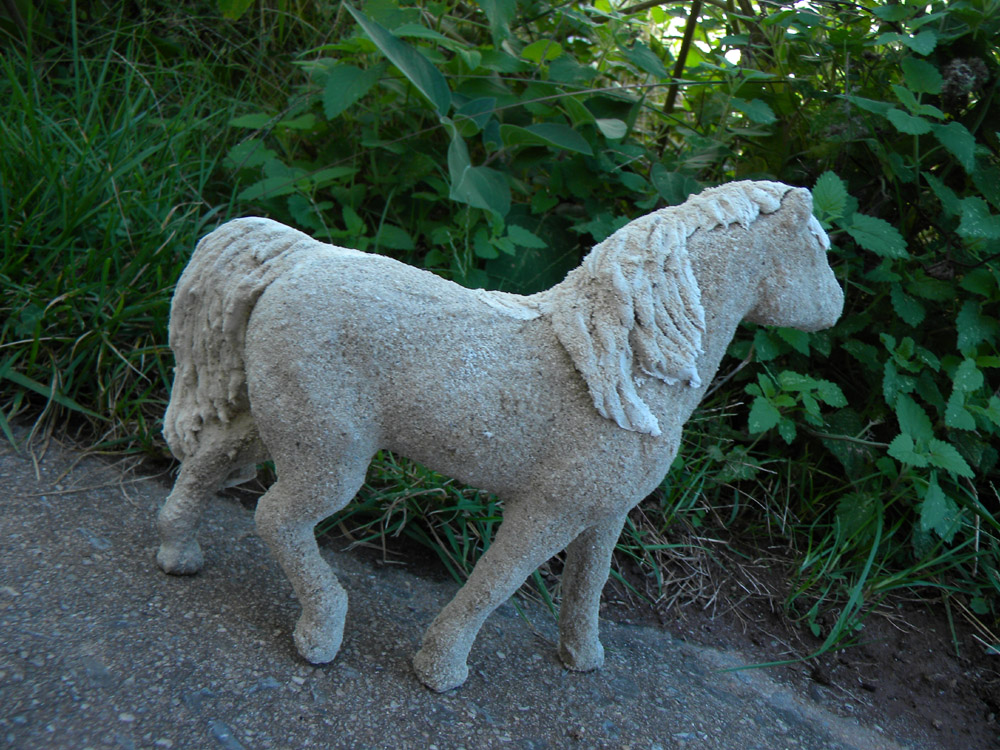
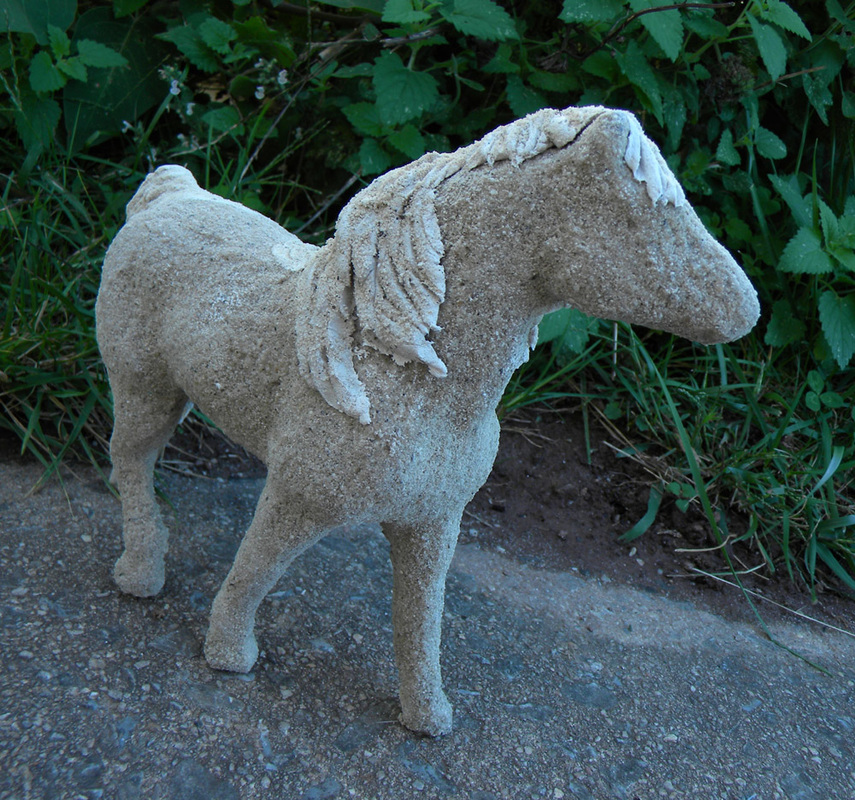
sand sculpture ponies
Cheesy flocked horse (plastic, covered with velvety fuzzy stuff), ModPodge, sand. You can paint the horse with ModPodge and sprinkle sand over the wet ModPodge, let dry, do another layer. Or you can mix ModPodge and sand and paint it on the horse, let dry, do another layer. The original mane was rabbit fur, the tail "Barbie hair". I pulled both off and used air dry clay (DAS) and a spoon to create a mane and tail (some ModPodge helped make it stick, though the clay is fairly sticky). The spoon creates the hair lines easily, as it did in the turquoise horse above. Sticking the tail to the leg helps stabilize it so it doesn't break off. A wire armature can also help.
Added a few more layers of sand and ModPodge. That dulled the detail in the mane and tail especially, so I added more mane and tail. This time I used sand/ModPodge mix and sculpted that with the edge of a spoon. I added some layers on the body with a different (more deep golden) sand creating a subtle pinto effect. Both sands are natural beach sands in their natural colors. You could do a pinto with two colors of sand (craft stores sell colored sand). For an authentic pinto, one of the colors should be white. Google the markings; pintos have distinct patterns. The air dry clay gives you more detail (mane and tail)... the sand/ModPodge mix looks more like wet, sculpted sand. Small pointy brushes (wet) can be used to sculpt the sand too.
second sand pony
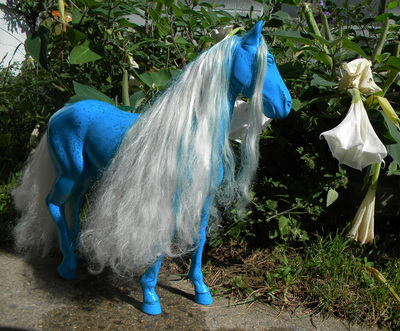
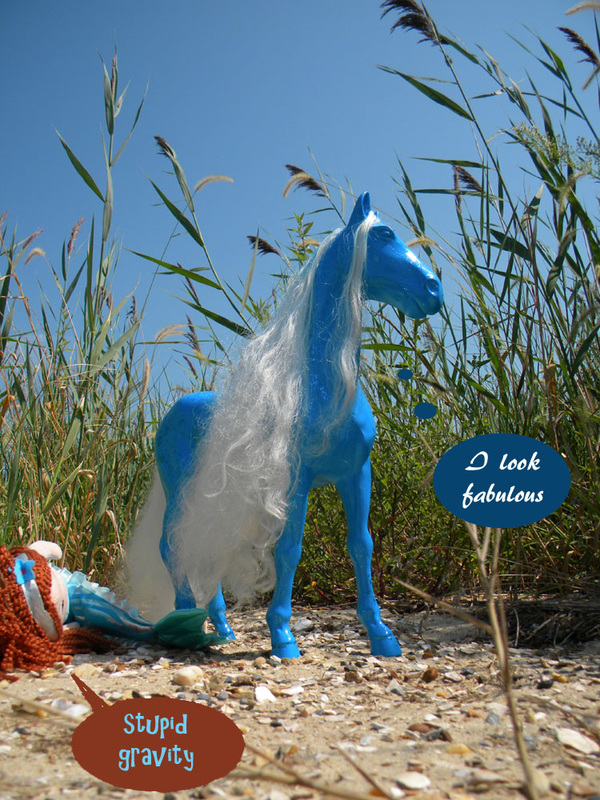
Our Generation horse from thrift shop, Rustoleum 2x Oasis, ModPodge, glitter.
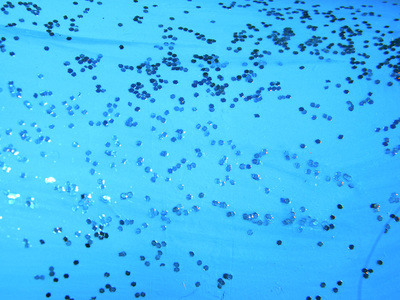
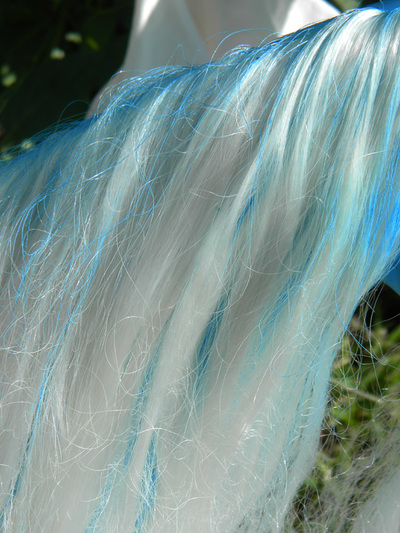
The Our Generation horses are scaled to the American Girl and similar dolls. Unlike the American Girl horses, they don't have an annoying fabric coating, so are sturdier. Fairly nice anatomy too, even if the heads are a wee bit clunkier than Breyer or Safari. This one was white, and had many signs of little girl lovin' including a tangled, half braided tail, a matty mane, and an attempt at a My Little Pony tattoo in marker on her butt. Human hair products clean and detangle the mane and tail (though I left some of the texture because it looks like sea foam). tying the hair up in rollers gets it out of the way for spray paint... sort of. Some blue got into the edges, but looks fine, as if the body color is bleeding gently into the mane and tail as sometimes does on a real horse. Did a top coat of glitter mixed into ModPodge for that fleabitten grey/seawater look. The ModPodge also give the horse a bit of a hair coat texture when applied with a brush (spray paint gives it an uncanny smooth look).
The Our Generation horses are scaled to the American Girl and similar dolls. Unlike the American Girl horses, they don't have an annoying fabric coating, so are sturdier. Fairly nice anatomy too, even if the heads are a wee bit clunkier than Breyer or Safari. This one was white, and had many signs of little girl lovin' including a tangled, half braided tail, a matty mane, and an attempt at a My Little Pony tattoo in marker on her butt. Human hair products clean and detangle the mane and tail (though I left some of the texture because it looks like sea foam). tying the hair up in rollers gets it out of the way for spray paint... sort of. Some blue got into the edges, but looks fine, as if the body color is bleeding gently into the mane and tail as sometimes does on a real horse. Did a top coat of glitter mixed into ModPodge for that fleabitten grey/seawater look. The ModPodge also give the horse a bit of a hair coat texture when applied with a brush (spray paint gives it an uncanny smooth look).
Another Our Generation horse found in a thrift shop...
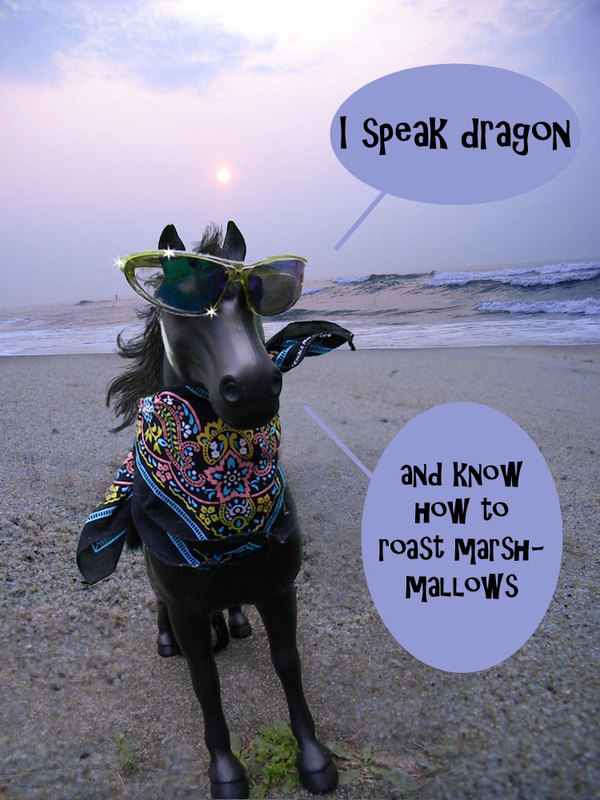
Worn black plastic, white socks. Repainted with Rustoleum 2x flat black. ModPodge to make eyes shiny. Click on the pics for the whole story.
Worn black plastic, white socks. Repainted with Rustoleum 2x flat black. ModPodge to make eyes shiny. Click on the pics for the whole story.
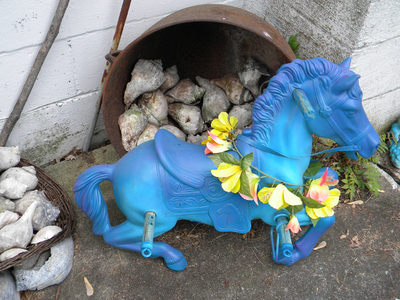
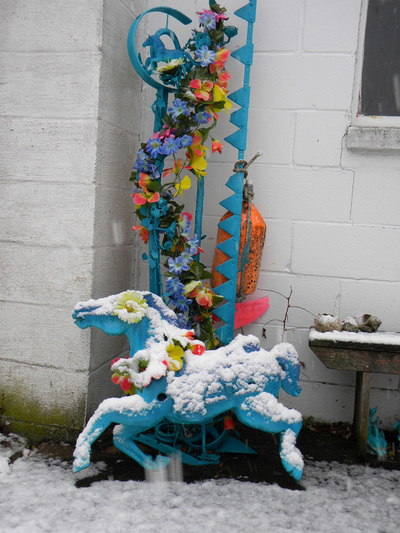
Bouncy horses, Rustoleum 2x Lagoon and Seaside, silk garland.
The Wonder horses were rescued from the trash, and for awhile, remained their original fuzzy factory paint jobs (a sort of vague buckskin and vague whiteish something). Shading the two turquoise colors created "seahorses", adding a touch of purple to the top created some depth. The horses are pretty nice models, and their great sculptured shape shows up when they are one basic color.
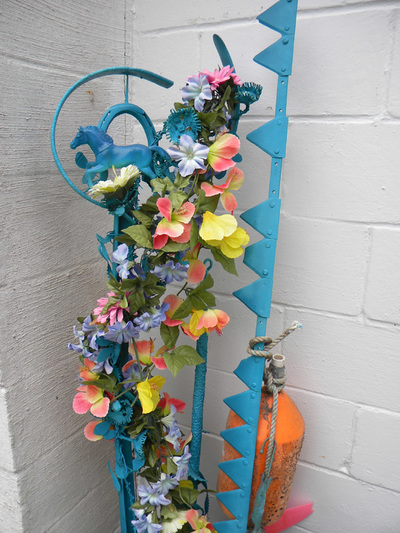
The metal sculpture was welded together of various "junk" by my dad and was needing another layer of paint. Why do boring black again...
Another small plastic horse is added to the horseshoe section of the metal sculpture. A strange father daughter collaboration.
The silks stay out all year and hod up well, but eventually fade. Spray paint for silk flowers can be found at craft stores like AC Moore.
The Rustoleum will eventually begin to chip off in places (I didn't do more than hose down the horses before painting) but holds up well and is easy to refresh. These nice models could also be painted realistically or done up as carousel horses.
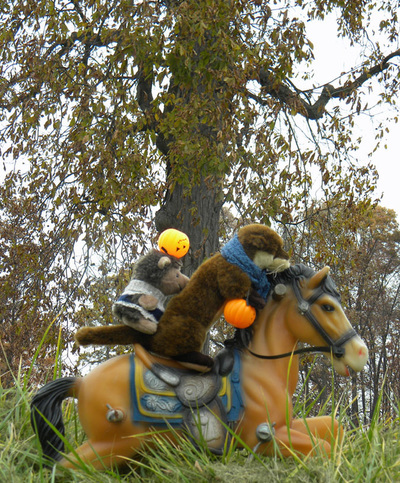
Below, right, Otterlock and Hedgejawn on the original buckskin horse at Halloween. I happened to have those plushies, who happened to match an internet meme in which Sherlock (with the BBC version blue scarf) and Watson are compared to otters and hedgehogs.
For the adventures of Otterlock and Hedgejawn click here: http://www.swordwhale.com/otterlock-and-hedgejawn.html
