Gabriel's Whale
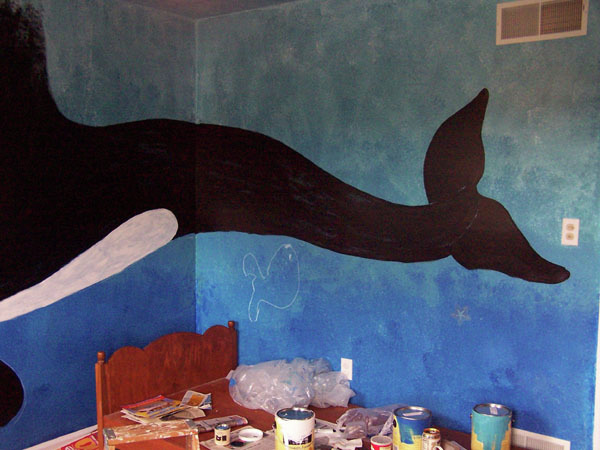
When a young naturalist at the park adopted a second son, she did something very special for the number one son: gave him his own room, and a special room makeover. He was two at the time, and we had just done the park's Touch Room: Ocean. Mom and Dad painted the room with two shades of blues (darker/lighter, one bluer, one greener) rolling one color from the top (the sunlit surface waters) and the other (darker) up from the depths, blending in between. This simple technique gave us our ocean background (as it had in the Touch Room).
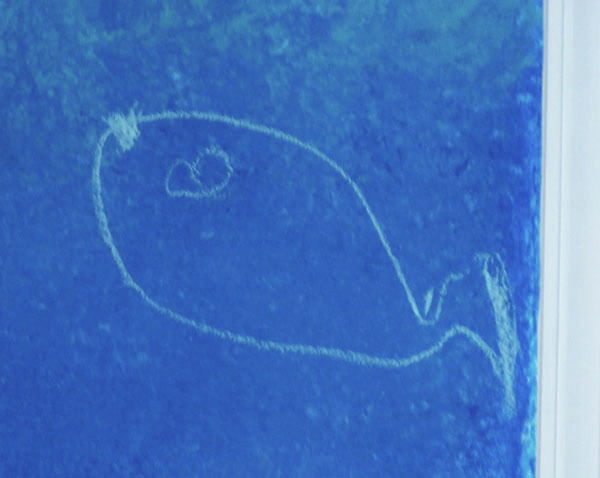
I drew the orca in chalk, using a couple of photos and a small model (several companies such as Schleich and Safari make good replicas of various animals). Gabriel watched me, then picked up a piece of chalk and began drawing some very cool fish on his walls.
"How are we going to explain to him that this is the only time he is allowed to draw on the walls?"
We recorded his artistic efforts , I painted the whale, and he has kept his own efforts confined to sidewalks and paper. (A good exercise for kids is to draw on a very large surface; they spend too much of their time confined to 81/2x11).
*The biggest problem with working big is... it's BIG.
*You are using "mouse vision", not "hawk vision". You are right in there working on one hair or leaf while the whole animal or tree has suddenly got all wonky and out of proportion.
*When drawing straight up, without projecting or gridding, be sure to look at your reference material, check your proportions, and STEP BACK as far as you can often, to make sure you're not getting things out of proportion (tail too long, whale too skinny etc.). You can use a mirror (which reverses the image as well as makes it look farther away), or peer through the wrong end of the binoculars (makes it look farther away) to check your work.
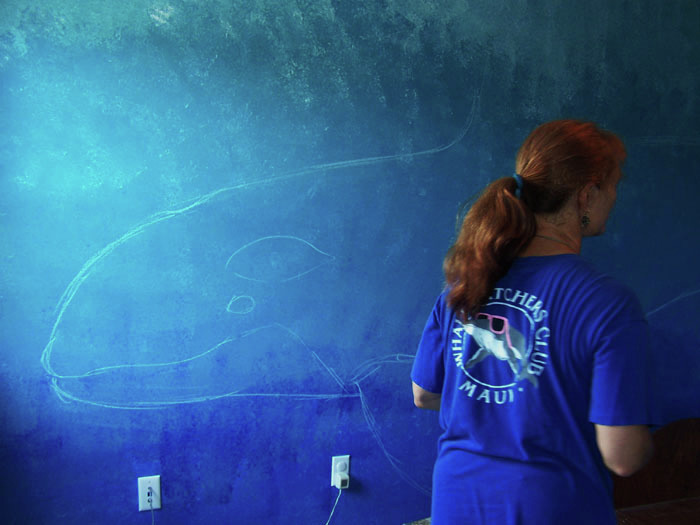
I drew the whale in chalk.
Outlined it in paint with a skinny, pointy watercolor type brush (springy, pointy). The paint is watered down; somewhat the texture of milk, or mostly melted ice cream.
Erased the chalk with wet towels. (Some colors bleed through the paint.)
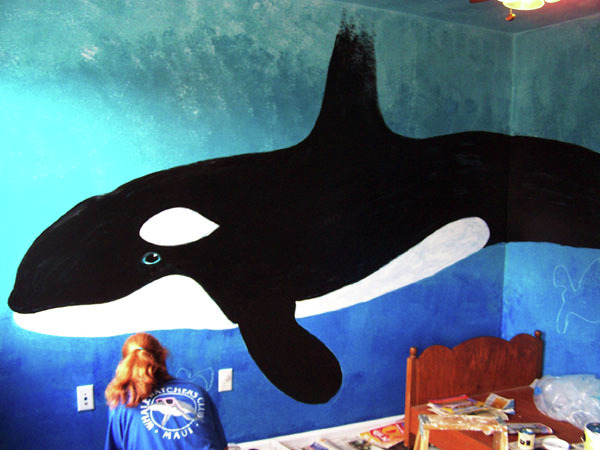
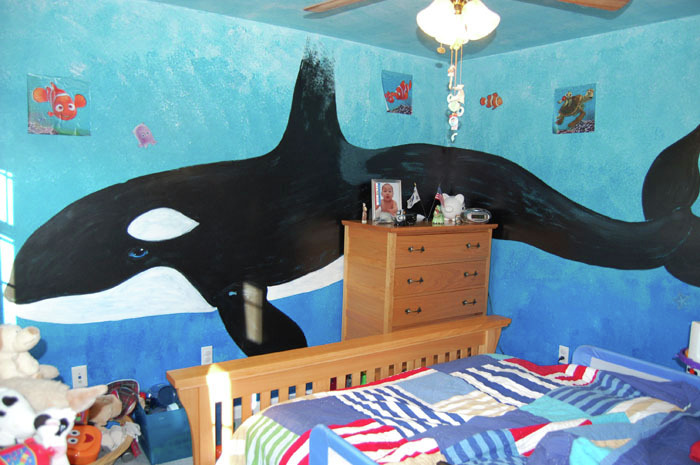
Painted the whale using larger brushes, sponges, regular house paint and some acrylics (more colors, translucent, but smaller quantities as they come in expensive tubes). I start with big blocks of color (in this case; the black parts, then the white parts) and add detail (shadows, highlights). For this subject, photo reference helped, but models helped more; most photo reference is of parts of whales surfacing.
I found I had run out of room, literally, the room was too small; Gabe's whale's fin went into the ceiling. I let it fade into the bubbly sunlit surface water, as if a wave was breaking right over him; better than cutting it off suddenly at the ceiling line.
When you frame a picture, using a dark frame against a pale piece of art will draw your eye to the line between the dark frame and the pale art. In a mural, any high contrast spot between subject (whale) and background will draw your eye (like; a fin suddenly ending at the ceiling). Also, any part of your subject that just touches something on the wall (an electrical outlet, a light switch, the closet frame, the bedframe, the window frame) will draw your eye to that "tension point". Avoid it; give your critter room to breathe.
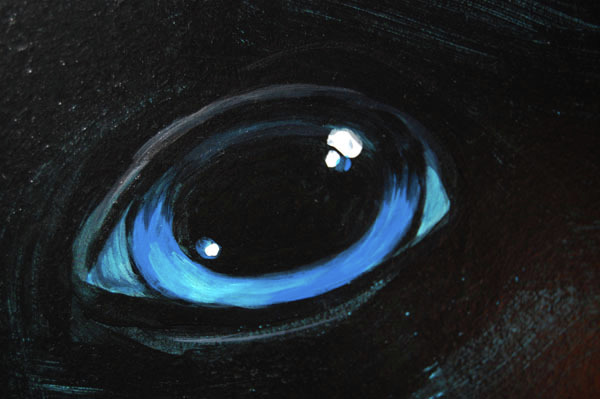
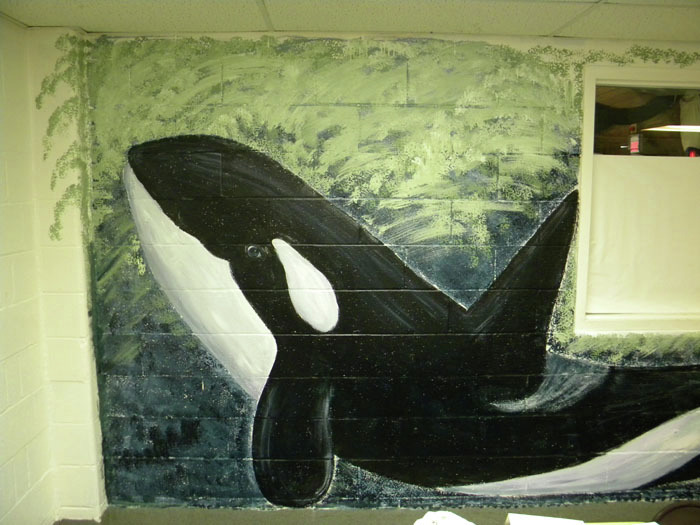
The last picture in the album here is the orca I did for the Manheim Twp Rec Dept's Party Room (Mural Class). Dolphins are wonderfully flexible and can bend around windows, electical outlets and other obstacles. I had to fit Gabe's around two walls, and the party room orca below a window. The background colors, and the poses create slightly different characters for the two whales. I have not yet been able to find a good photo of an orca eye, close-up, so I had to wing it from the models and photos I had. Only mature males have the tall, triangular fins, females and juveniles have moon-curved fins.
I drew the orca in chalk, using a couple of photos and a small model (several companies such as Schleich and Safari make good replicas of various animals). Gabriel watched me, then picked up a piece of chalk and began drawing some very cool fish on his walls.
"How are we going to explain to him that this is the only time he is allowed to draw on the walls?"
We recorded his artistic efforts , I painted the whale, and he has kept his own efforts confined to sidewalks and paper. (A good exercise for kids is to draw on a very large surface; they spend too much of their time confined to 81/2x11).
*The biggest problem with working big is... it's BIG.
*You are using "mouse vision", not "hawk vision". You are right in there working on one hair or leaf while the whole animal or tree has suddenly got all wonky and out of proportion.
*When drawing straight up, without projecting or gridding, be sure to look at your reference material, check your proportions, and STEP BACK as far as you can often, to make sure you're not getting things out of proportion (tail too long, whale too skinny etc.). You can use a mirror (which reverses the image as well as makes it look farther away), or peer through the wrong end of the binoculars (makes it look farther away) to check your work.
I drew the whale in chalk.
Outlined it in paint with a skinny, pointy watercolor type brush (springy, pointy). The paint is watered down; somewhat the texture of milk, or mostly melted ice cream.
Erased the chalk with wet towels. (Some colors bleed through the paint.)
Painted the whale using larger brushes, sponges, regular house paint and some acrylics (more colors, translucent, but smaller quantities as they come in expensive tubes). I start with big blocks of color (in this case; the black parts, then the white parts) and add detail (shadows, highlights). For this subject, photo reference helped, but models helped more; most photo reference is of parts of whales surfacing.
I found I had run out of room, literally, the room was too small; Gabe's whale's fin went into the ceiling. I let it fade into the bubbly sunlit surface water, as if a wave was breaking right over him; better than cutting it off suddenly at the ceiling line.
When you frame a picture, using a dark frame against a pale piece of art will draw your eye to the line between the dark frame and the pale art. In a mural, any high contrast spot between subject (whale) and background will draw your eye (like; a fin suddenly ending at the ceiling). Also, any part of your subject that just touches something on the wall (an electrical outlet, a light switch, the closet frame, the bedframe, the window frame) will draw your eye to that "tension point". Avoid it; give your critter room to breathe.
The last picture in the album here is the orca I did for the Manheim Twp Rec Dept's Party Room (Mural Class). Dolphins are wonderfully flexible and can bend around windows, electical outlets and other obstacles. I had to fit Gabe's around two walls, and the party room orca below a window. The background colors, and the poses create slightly different characters for the two whales. I have not yet been able to find a good photo of an orca eye, close-up, so I had to wing it from the models and photos I had. Only mature males have the tall, triangular fins, females and juveniles have moon-curved fins.