Mural: drawing
There are several ways to get your idea onto the wall:
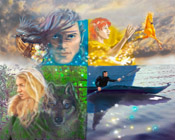
PROJECT: start with: photo reference... a painting... your own drawing... slides (???do they still exist?)... a montage (a bunch of images, like some movie posters) pasted from photo clippings you like... a Photoshop creation (modified photo, drawing/photo, montage).
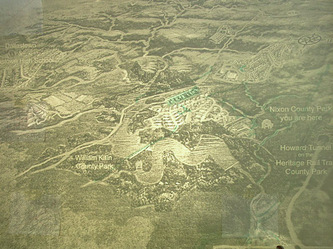
Project the image onto the wall (top left photo shows the watershed reference being projected onto the wall). Be careful that the projected image and the wall are parallell (like the llllls in the word). If you tilt the projector, you will get some very odd perspective tricks, or a mutated moose.
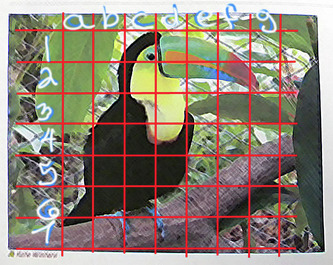
GRID: start with your drawing, photo, or other reference (like the toucan pic in the middle, top). Make sure it is the same proportions (length, width) as your wall (or the space you are painting on).
Make a grid over it (horizontal lines, vertical lines, see toucan).
Make the same grid on the wall... only bigger. (This is Math 101, which I reek at, but even I can do this one: an inch block on your drawing might equal a foot block on your wall...or a half inch = a foot... or an inch = a half foot... it depends on the size of your drawing, and your wall.
Now draw what you see in each block, on the corresponding block on the wall. I'd still prefer to just DRAW first, and use the grid to check the proportions.
JUST DRAW: (like the jaguars above, right, by a mural class artist) I used this method for Touch Room Forest and Ocean, for Gabriel's Whale, and for the Party Room. The only time I've used projection is for the Watershed Mural, where exact proportions (map!) were important.
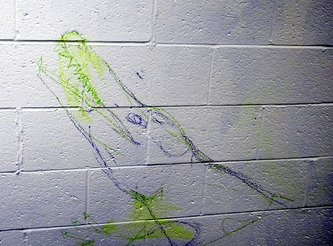
For the Party Room, we drew on the wall in chalk (sometimes art pastels, which were messy, and if left on the wall, can bleed through white and other light colors).
After getting your chalk drawing right, I like to outline the drawing in paint (thinned to flow nicely off a pointy brush). Then I can erase the chalk before going into painting the creature.
Be sure to step back often (as far as you can) to check the proportions. Working up close gives you "mouse vision", you need to see like a hawk, the whole piece. You can use a mirror, which not only makes the image seem farther away, but turns it backwards so you can see your mistakes. You can also peer through the wrong end of the binoculars (makes it seem farther away). Or stand on your head. (Not into Yoga or acrobatics? Just bend over and look at it upside down...).
Here is where a grid could be useful. Gridding your reference material (photo) and your wall can help you fix your proportions if you're not sure you have it right. I prefer to draw it all first.
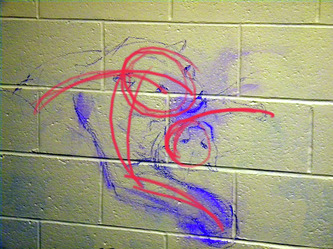
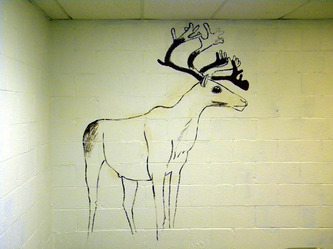
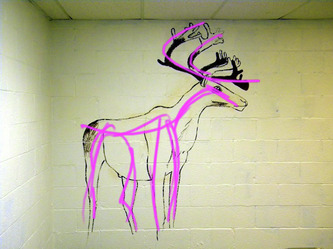
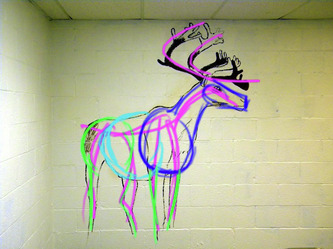
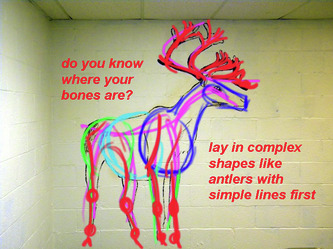
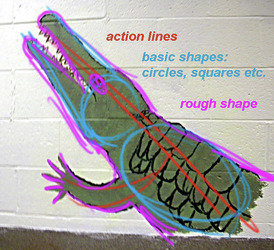
Caribou, top left: line drawing in thinned paint with a pointy small brush. The artist first drew it in chalk/pastel. Because it contains a lot of white areas, she erased the pastels with a damp cloth, after drawing the "ink" lines. On Photoshop, I have added the action lines in pink, the round basic body shapes in blue/turquoise/green, and the bones in red. You are working with flat reference on a flat wall (unless you can shanghai a caribou into posing for you); you must think in 3D. Imagine where the bones are, the muscles, the massive shapes of the body. I like to use circles (balls, spheres) because they are the same shape no matter which way you turn them, and they can be found in most living things. You might like to use blocks, or pyramids or eggs or other shapes. Simple shapes first, refine and complicate later.
